
-
6258 Penfield Ave, Woodland Hills, CA 91367
6258 Penfield Ave, Woodland Hills, CA 91367

If you are tired of watering, mowing, and patching up dead spots, laying artificial grass is one of the easiest ways to get a lawn that stays green all year. In this guide, you will learn how to install synthetic turf, what tools and materials you need, and the common mistakes homeowners make when doing it themselves.
Whether you are looking into artificial grass in Tarzana or anywhere else with hot, dry summers, this step-by-step guide will help you understand the full process before you start.
Synthetic turf is made from man-made fibers, usually polyethylene, polypropylene, or nylon. These fibers are tufted into a backing material, which is then filled with an infill layer to keep the blades standing upright. Good quality turf is built to handle sun, rain, foot traffic, and pets without fading or flattening for many years.
Modern synthetic grass looks a lot like real grass. Many products even mix in different shades of green and brown to copy the natural, uneven look of a real lawn.
Before we get into the installation steps, it helps to understand why so many people are switching. Here are the main reasons:
Homeowners in warm areas often see the biggest benefit, since natural grass tends to dry out or turn brown quickly during long summers.
Before starting your project, gather these items:
| Category | Items Needed |
| Base materials | Crushed rock or road base, weed barrier fabric |
| Turf materials | Artificial grass rolls, seaming tape, turf nails or staples |
| Infill | Silica sand or rubber infill |
| Tools | Sod cutter or shovel, plate compactor, utility knife, wheelbarrow, rake, push broom |
| Safety gear | Gloves, knee pads, safety glasses |
If you don’t already own a plate compactor or sod cutter, most hardware stores rent them out, which saves you from buying equipment you will only use once.
Start by measuring the length and width of the area where you want to install the turf. Add a little extra to your measurements, around 5 to 10 percent, to account for trimming and seams. This helps you buy the right amount of turf and infill without running short halfway through the job.
Dig out the existing grass, roots, and about 3 to 4 inches of soil. This step matters a lot. If you skip it or don’t dig deep enough, your new turf may sit unevenly or drain poorly later on.
Use a sod cutter for larger lawns since it saves time and gives you a cleaner cut than a shovel.
Once the soil is removed, check the slope of the area. You want a slight slope, usually around 1 to 2 percent, so water can drain away instead of pooling on the surface. Rake the area smooth and remove any rocks, roots, or debris.
Roll out a weed barrier fabric across the entire base. This stops weeds from growing up through your turf later. Overlap the edges of the fabric by a few inches so there are no gaps.
Spread a 3 to 4 inch layer of crushed rock or road base aggregate over the weed barrier. Then use a plate compactor to pack it down firmly. This base layer is one of the most important parts of the entire process because it:
Skipping proper compaction is one of the most common reasons artificial turf installations fail early.
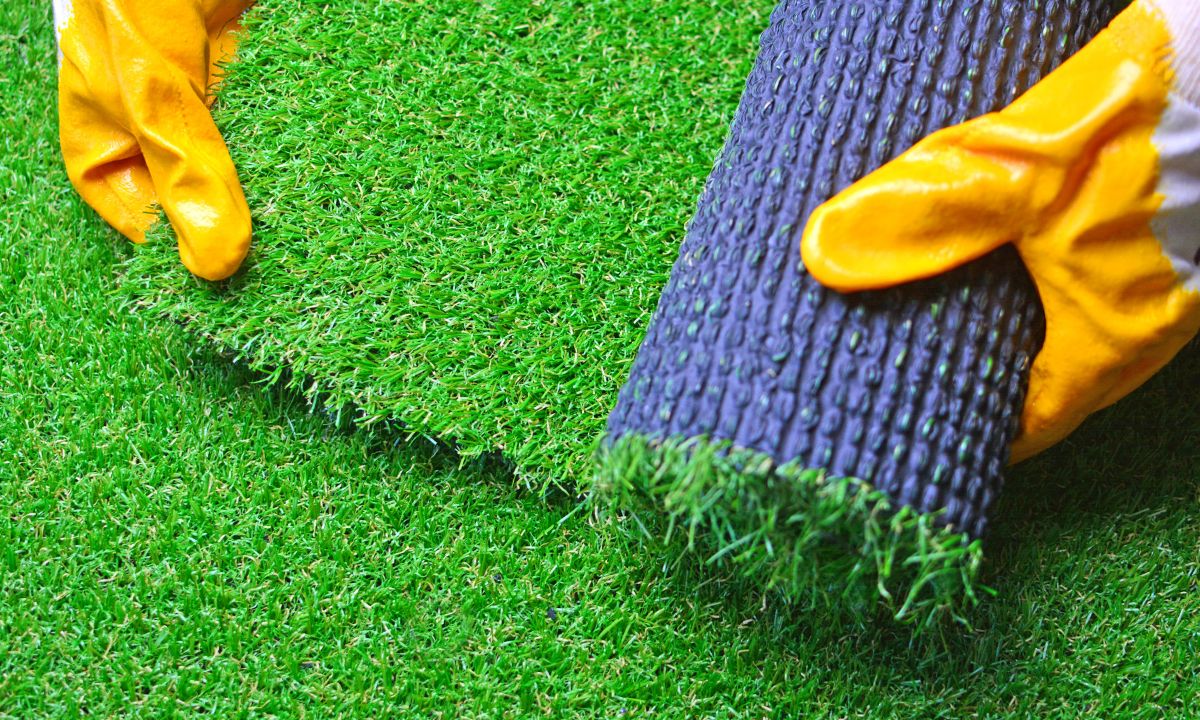
Unroll your artificial grass over the prepared base and let it sit in the sun for a couple of hours. This helps the fibers relax and settle into a natural position. Trim the edges so the turf fits neatly against walls, patios, or borders.
If your area needs more than one roll of turf, line up the edges carefully so the grain of the grass runs in the same direction. Use seaming tape and outdoor adhesive to join the pieces together so the seam is invisible once finished.
Use turf nails or staples every few inches along the perimeter to hold the turf firmly in place. Make sure the edges are pulled tight so there is no bunching or wrinkling.
Spread sand or rubber infill evenly across the turf using a drop spreader. Infill helps the blades stand upright, adds cushioning, and improves how the turf feels underfoot.
Finally, use a stiff push broom or a power broom to brush the fibers upright. This step gives your lawn a natural, full look and helps distribute the infill evenly.
With good installation and normal care, synthetic turf typically lasts between 10 and 15 years. Areas with heavy foot traffic or direct sun exposure may need infill top-ups every few years to keep the turf looking fresh.
Yes, it is possible for a small area like a side yard or pet run. However, larger lawns need proper grading, compaction, and seaming to avoid drainage issues and uneven surfaces down the road. A poor DIY job often ends up costing more to fix than hiring a professional from the start.
If you want a lawn that stays green all year without the daily upkeep, our team can help you get there without the guesswork. We specialize in artificial grass installation in Tarzana and handle everything from grading and base preparation to seaming and finishing touches.
We offer transparent pricing, honest recommendations on the right turf for your space, and installation that lasts. Whether you want a simple backyard upgrade, a pet-friendly lawn, or even a putting green, we can design and install a synthetic turf solution that fits your home and your budget.
Yes, in most cases. You save on water, mowing, and ongoing lawn care costs. Over several years, many homeowners find that synthetic turf is a cost-effective choice.
Yes, when it is made from soft, non-toxic materials. Good quality turf drains well and does not trap odors when cleaned regularly.
It can warm up on very hot days, similar to a driveway or patio. Choosing turf with a cooler backing or lighter infill can help reduce heat buildup.
Regular brushing and rinsing keeps it looking fresh. For pet areas, an occasional turf cleaner helps control odor and bacteria.
Yes. Professional installers grade and shape the base so the turf sits evenly, even on sloped or uneven ground.

Lorem ipsum dolor sit amet, consectetur adipiscing elit, sed do eiusmod tempor incididunt ut labore et dolore magna aliqua…

February 12, 2025

February 12, 2025
April 10, 2025
April 21, 2025

April 28, 2025