
Synthetic Turf Installation Timeline: What Happens From Start to Finish
Installing synthetic turf is a structured, step-by-step process designed to ensure durability, proper drainage, and a natural-looking finish. If you’re planning an artificial grass installation in California, understanding the full timeline helps set clear expectations and builds confidence in the process.
Below is a timeline-style format that walks you through each stage—from the first site visit to the final inspection.
Typical Installation Timeline (Residential Projects)
Total Time: 2–5 days
(May vary based on yard size, slope, and site conditions)
Day 1: Site Evaluation & Preparation
-
On-site measurement and layout planning
-
Removal of existing grass, weeds, or debris
-
Excavation to the required depth (usually 3–4 inches)
-
Grading and leveling for proper water flow
Why This Step Matters:
Proper site preparation prevents:
-
Uneven turf surfaces
-
Drainage failures
-
Premature turf movement or wrinkles
Good prep = long-lasting turf
Day 2: Base Installation & Compaction
-
Installation of a weed barrier fabric
-
Laying a crushed rock or decomposed granite base
-
Multiple rounds of compaction using a plate compactor
-
Final leveling and edge shaping
Why This Step Matters:
The base layer:
-
Supports the turf structure
-
Enables efficient drainage
-
Prevents sinking or shifting over time
📌 This is the most critical structural phase of turf installation.
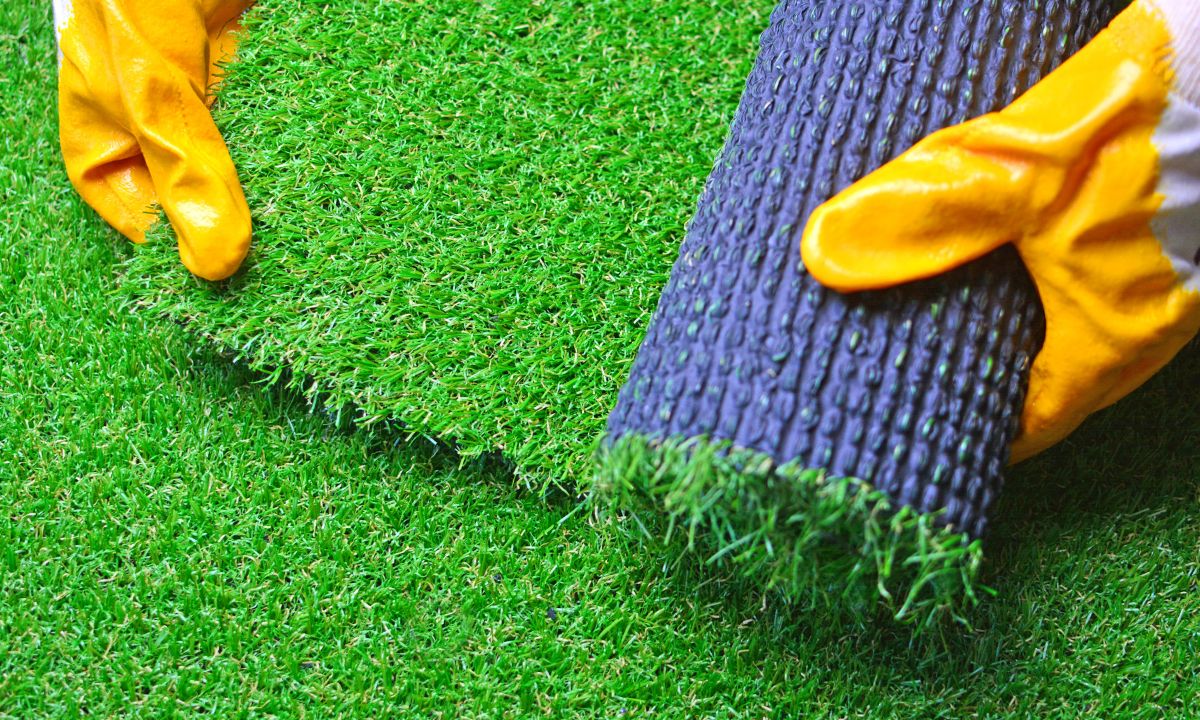
Day 3: Turf Laying & Seaming
-
Turf rolls are positioned and aligned
-
Turf is trimmed for precise edges
-
Seams are joined using seam tape and adhesive
-
Turf is secured with galvanized nails or staples
Why This Step Matters:
Proper seaming ensures:
-
Invisible joins
-
Natural grass-like appearance
-
No separation over time
✨ This is where your yard starts to visually transform.
Day 4: Infill Application & Power Brushing
-
Infill material (sand or pet-friendly infill) is spread evenly
-
Turf fibers are lifted using a power broom
-
Multiple brushing passes for uniform distribution
Why This Step Matters:
Infill:
-
Keeps blades upright
-
Adds weight and stability
-
Improves comfort underfoot
-
Enhances durability and performance
Day 5: Final Inspection & Walkthrough
-
Edges and seams are double-checked
-
Drainage performance is reviewed
-
Surface leveling is verified
-
Client walkthrough and care instructions
Why This Step Matters:
This ensures:
-
Installation quality
-
Safety for kids and pets
-
Long-term performance
✔️ Only after inspection is the project considered complete.
Installation Timeline at a Glance
| Phase | Key Focus | Time Required |
|---|---|---|
| Site Preparation | Excavation & grading | 1 day |
| Base Installation | Drainage & compaction | 1 day |
| Turf Laying | Cutting & seaming | 1 day |
| Infill & Brushing | Stability & comfort | 0.5–1 day |
| Final Inspection | Quality assurance | Same day |
Common Questions
How long does synthetic turf installation take?
Most residential turf installations take 2 to 5 days, depending on yard size and site conditions.
Can synthetic turf be installed on uneven ground?
Yes, uneven areas are corrected during excavation and base preparation.
Is turf installation messy?
Temporary disruption is normal, but the site is cleaned and finished before project completion.
When can I use my yard after installation?
In most cases, you can walk on the turf immediately after final inspection.
Final Thoughts
A professional synthetic turf installation isn’t just about rolling out grass—it’s a systematic process built around drainage, stability, and long-term performance. When each phase is done correctly, the result is a beautiful, low-maintenance outdoor space that lasts for years.

Lorem ipsum dolor sit amet, consectetur adipiscing elit, sed do eiusmod tempor incididunt ut labore et dolore magna aliqua…
Popular Posts

February 12, 2025

February 12, 2025
April 10, 2025
April 21, 2025

April 28, 2025